
Quick Start Guide
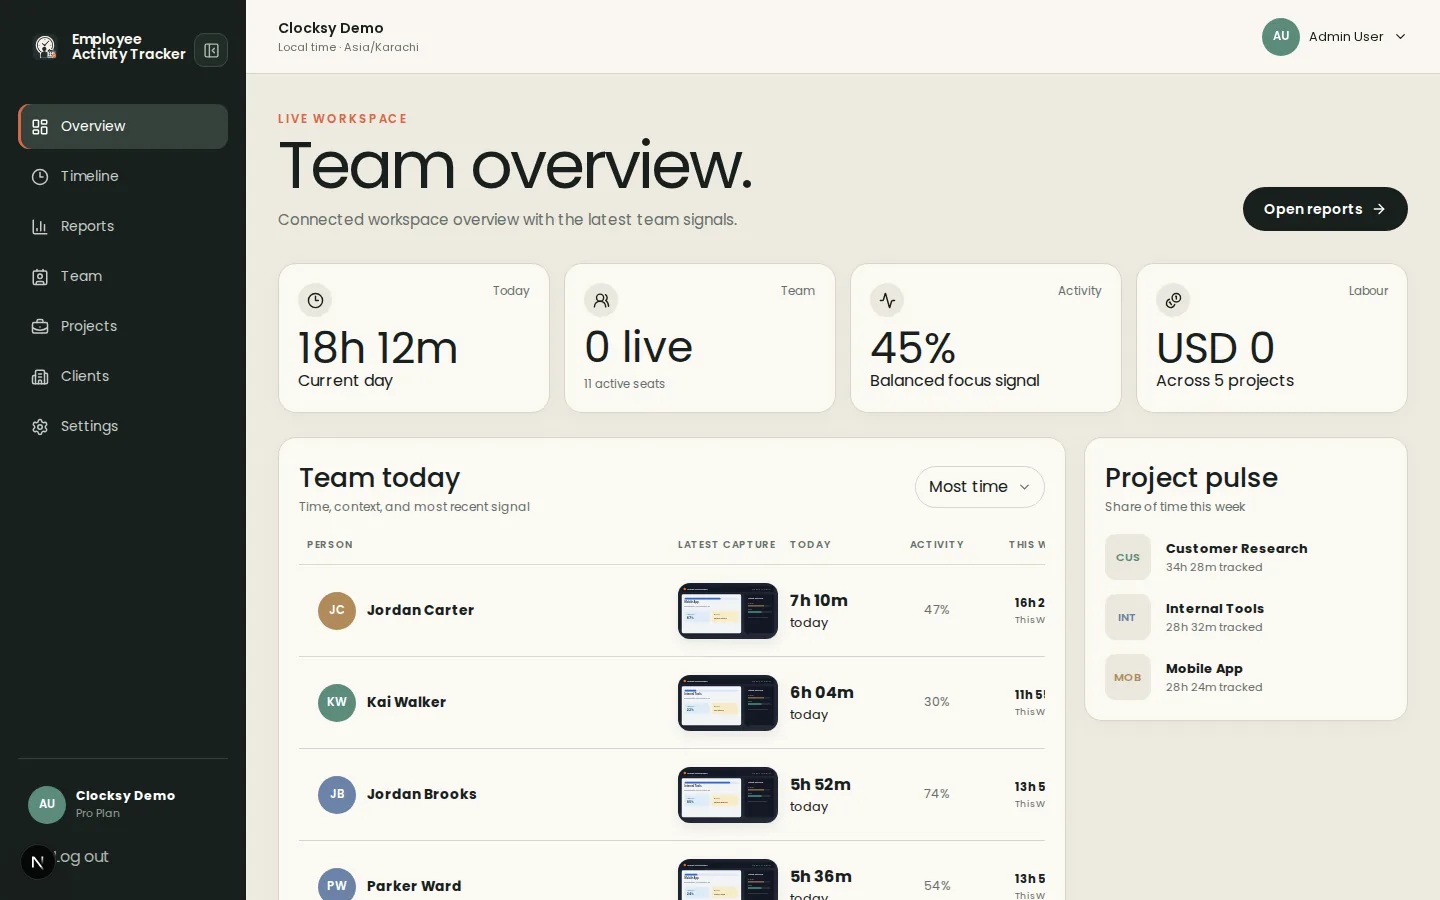
Follow four steps to go from download to a running timer: install the desktop companion, create your first project, and begin capturing billable project time with clear workforce productivity signals.
1. Download the desktop time tracker
Open the Downloads page and get the Windows installer for Employee Activity Tracker. The desktop companion captures project time, aggregate activity levels, app usage, and optional screenshot tracking—without keylogging typed content.
- Use the official download from our site, not third-party mirrors.
- Sign in with the same workspace account you use in the web dashboard.
2. Install on Windows
Run the installer and complete setup. If Windows SmartScreen shows a “Don’t Run” or unrecognized publisher warning, open More info and choose Run anyway only when you downloaded the file from our official Downloads page. That warning is common for newer desktop apps while code-signing trust builds—it does not mean malware.
- Keep the app running while you work so sessions sync.
- Confirm workspace capture settings with your admin if screenshots are enabled.
3. Create a project
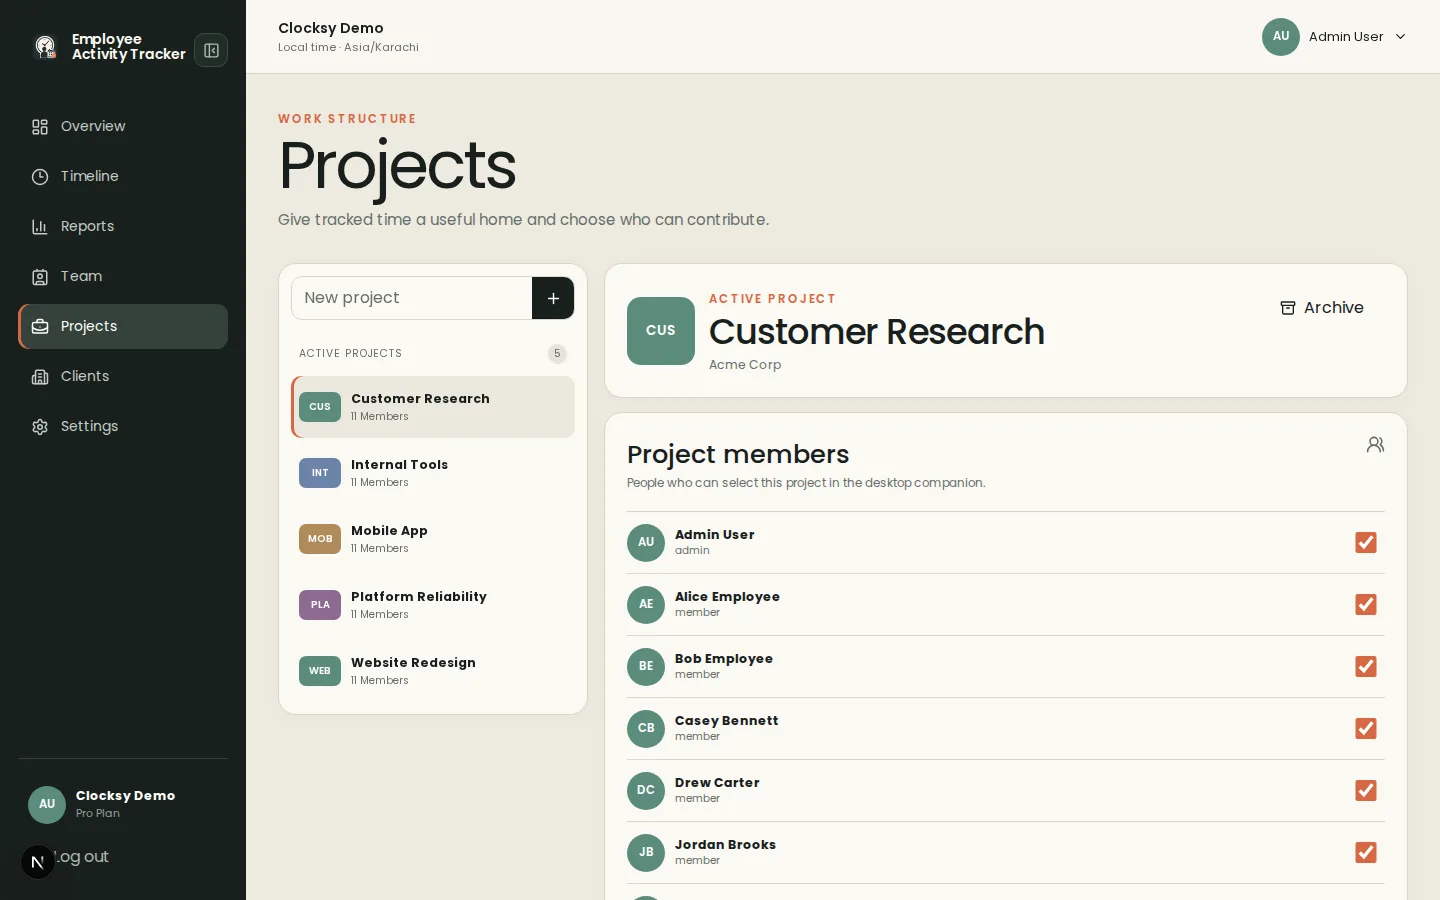
In the web dashboard, add a client (optional) and a project. Free workspaces include up to two projects—enough to validate timesheet workflows before you scale. Assign people who will track time against that project.
4. Start the timer
In the desktop app, choose the project, add an optional note, and start the timer. While the session runs, idle time and auto-pause rules can stop inflate timesheets; when you stop or pause, entries sync so team reports stay accurate.
- Pause when you step away so attendance tracking stays honest.
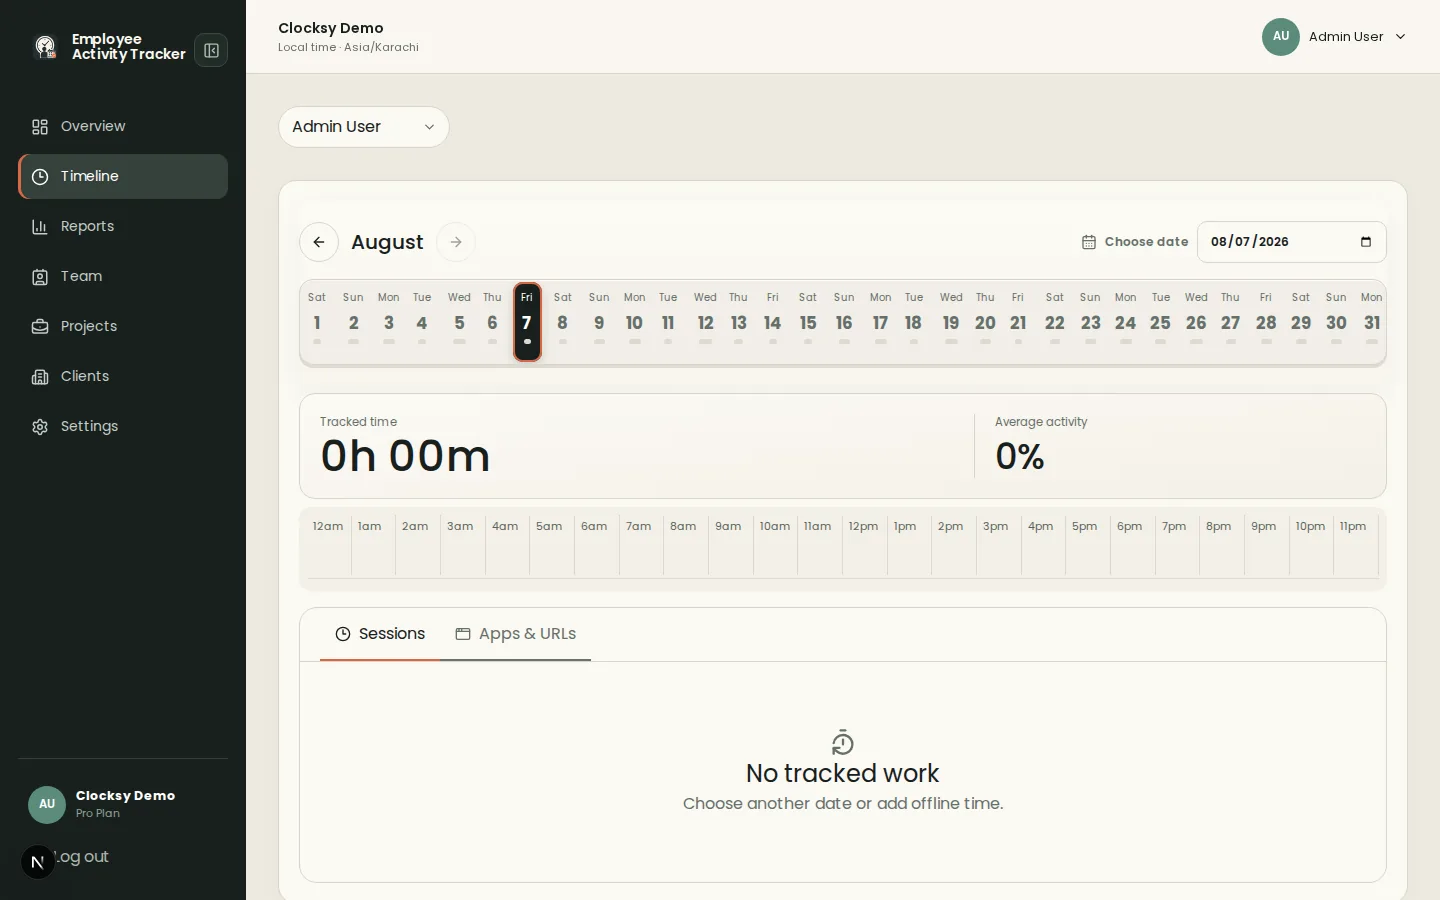
- Review the workday timeline in the dashboard after your first session.
Was this helpful?
Ready to try it?
Start a free workspace or compare plans before you invite the team.